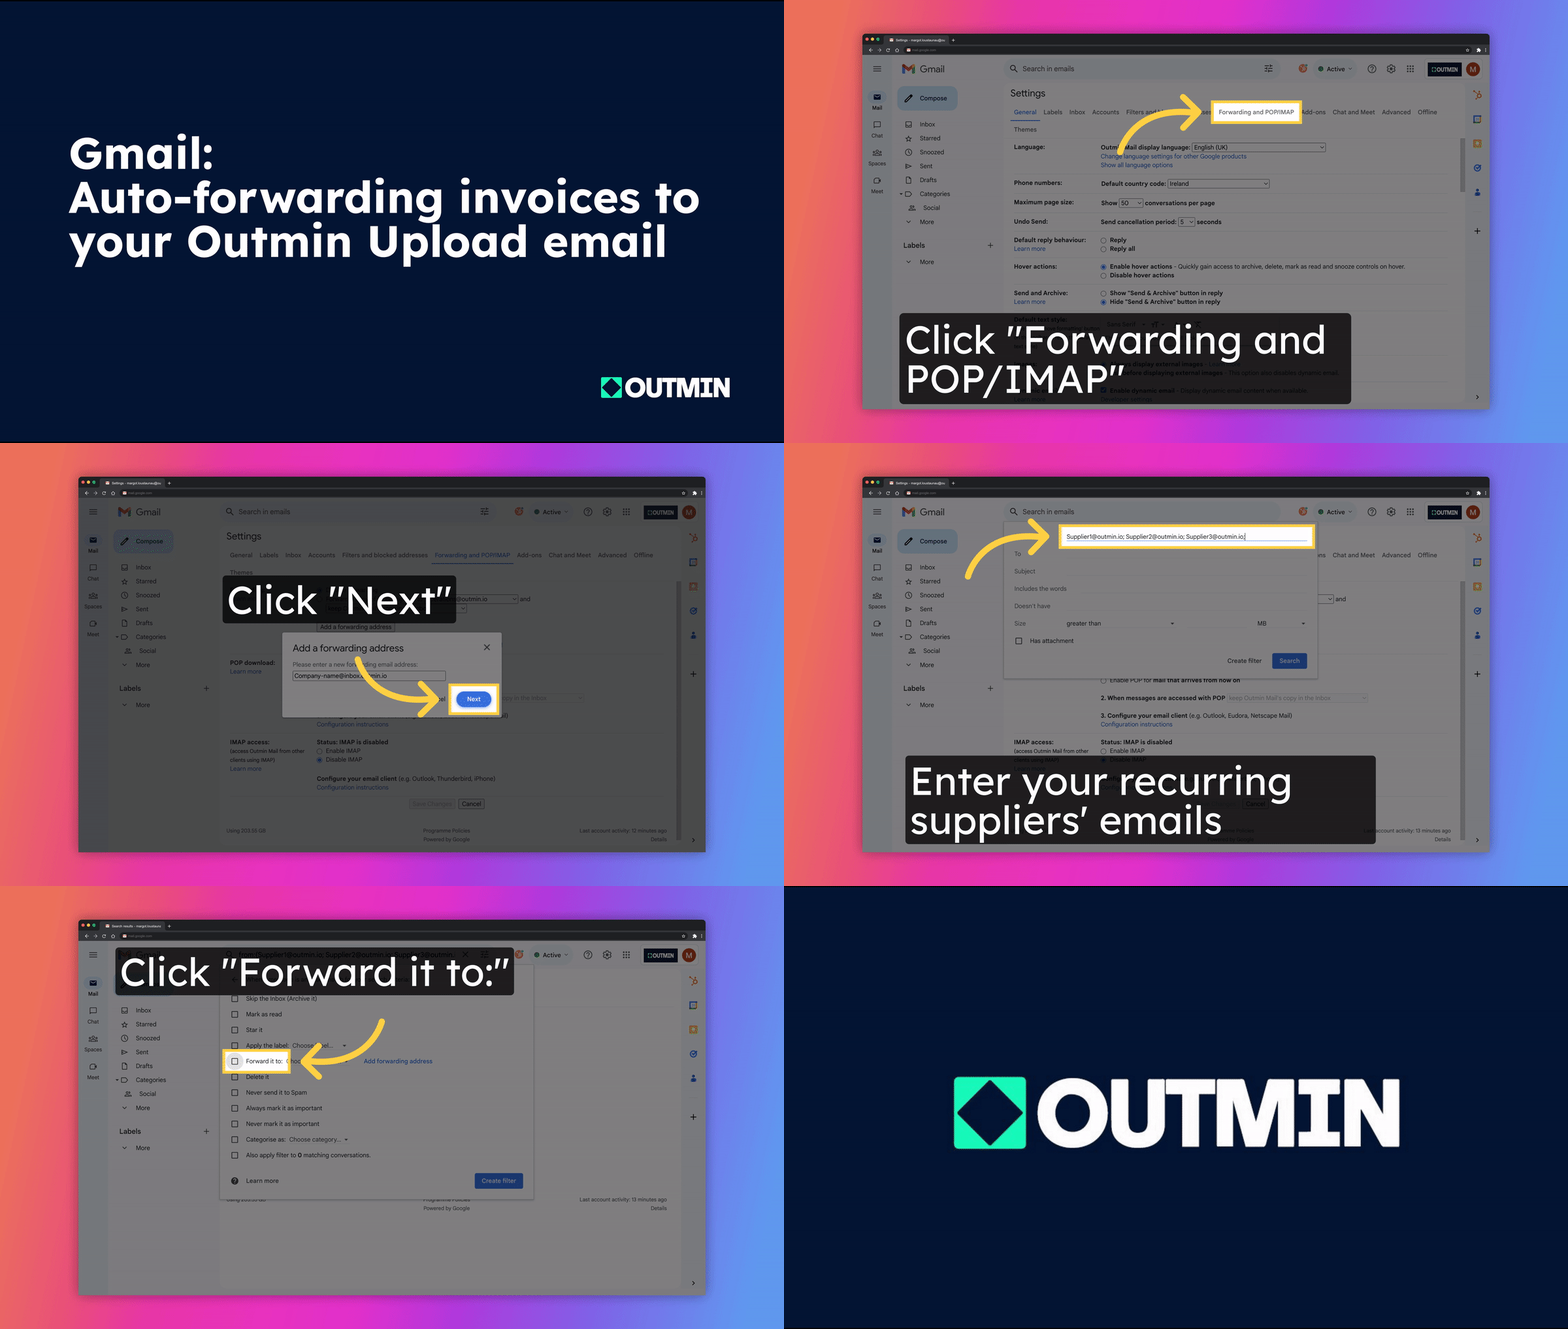
Auto-forwarding invoices to your Outmin Upload email
Set up auto-forwarding for recurring invoices to Outmin and never miss a document
Setting up auto-forwarding for your recurring invoices to Outmin isn’t just a convenience, it’s a vital step to keep your accounts running smoothly. Act now to prevent important invoices from getting lost in your inbox and significantly reduce the number of Rex requests you receive.
Delays or missing documents can disrupt your financial processes and reporting, so set up auto-forwarding today to ensure your invoices always reach Outmin on time and avoid any disruptions to your bookkeeping.
How it works
To set-up auto-forwarding, you will need a list of your suppliers' email address (emails from which you receive your recurring invoices), as well as your Outmin Upload email.
Depending on your email provider, the process to set-up auto-forwarding of your recurrent invoices might be a little different.
Please refer to the how-to guides below, or contact us at hello@outmin.io
Outlook (Microsoft 365)
Once logged in your Outlook account, go to Settings > Mail > Rules.
Click on + Add new rule:
-
Name your rule "Invoices forwarding to Outmin"
-
Under Add a condition, select "Has attachment"
Click on Add another condition and select "From"
You can then copy/paste the email addresses of your recurring suppliers, using a semi-colon between each email to separate them
-
Under Add an action, select "Forward to" in the dropdown menu and copy/paste your Outmin Upload email
If you're already applying other rules to your Inbox, don't forget to tick-off the "Stop processing more rules" box to avoid interfering with rules already in place.
Click on Save in the bottom-right corner of your screen.
+.gif)
Outlook for Mac
Once you've opened the Outlook for Mac app, click on Tools in the menu bar > Rules...
Click on New Rule:
-
Name your rule "Invoices forwarding to Outmin"
-
Under Select a condition, select "From"
You can then copy/paste the email addresses of your recurring suppliers, using a semi-colon between each email to separate them
-
Click on Add another condition and select "Has attachment"
-
Under Select an action, select "Forward to" in the dropdown menu and copy/paste your Outmin Upload email
If you're already applying other rules to your Inbox, don't forget to tick-off the "Stop processing more rules" box to avoid interfering with rules already in place.
Click on Save in the bottom-right corner of your screen.
+.gif)
Gmail (Google Workspace)
Note for Gmail users
To set-up auto-forwarding on Gmail, please email us at hello@outmin.io before following the tutorial below.
In order for your invoices to upload on the dashboard properly, we'll need to authorise the forwarding on our end. If you don't email us, we won't receive your documents.
Once you're logged in your Gmail account, go to Settings > See all settings > Forwarding and POP/IMAP.
Under Forwarding, click on "Add a forwarding address" and copy/paste your Outmin Upload email. This might open a pop-up window for you to verify your Gmail account. In that case, just follow the directions to verify your Google account and click on "Proceed" when asked if you wish to set-up forwarding.
You should then get a confirmation that the forwarding address was added. In order to make sure only your suppliers' invoices are uploaded in your Outmin account, we then need to create a filter.
Still in Settings > See all settings > Forwarding and POP/IMAP, click on "creating a filter!" under Forwarding.
-
Next to From:, copy/paste the email addresses of your recurring suppliers, using a semi-colon between each email to separate them
-
Tick the box "Has attachment"
-
Click on Create filter
-
Tick the box "Forward it to:" and select your Outmin Upload Email in the dropdown menu
-
Click on Create filter again
